Saturday, April 20, 2013

Flag slice-and-bake sugar cookies


Remember those slice-and-bake cookies you used to be able to get from grocery stores around holidays? I used to love having the shapes hidden within and the ease of making them. Just pull the roll of dough out of the freezer, slice, and bake. Not to mention that they cookies were darn tasty too!


I found a few examples online, and decided to make flag cookies. The French and US flag seemed the most obviously appropriate. So, first, the recipe. Any recipe for rolled sugar cookies will work. I actually forgot to add baking powder and salt to mine, and it still worked out just fine.

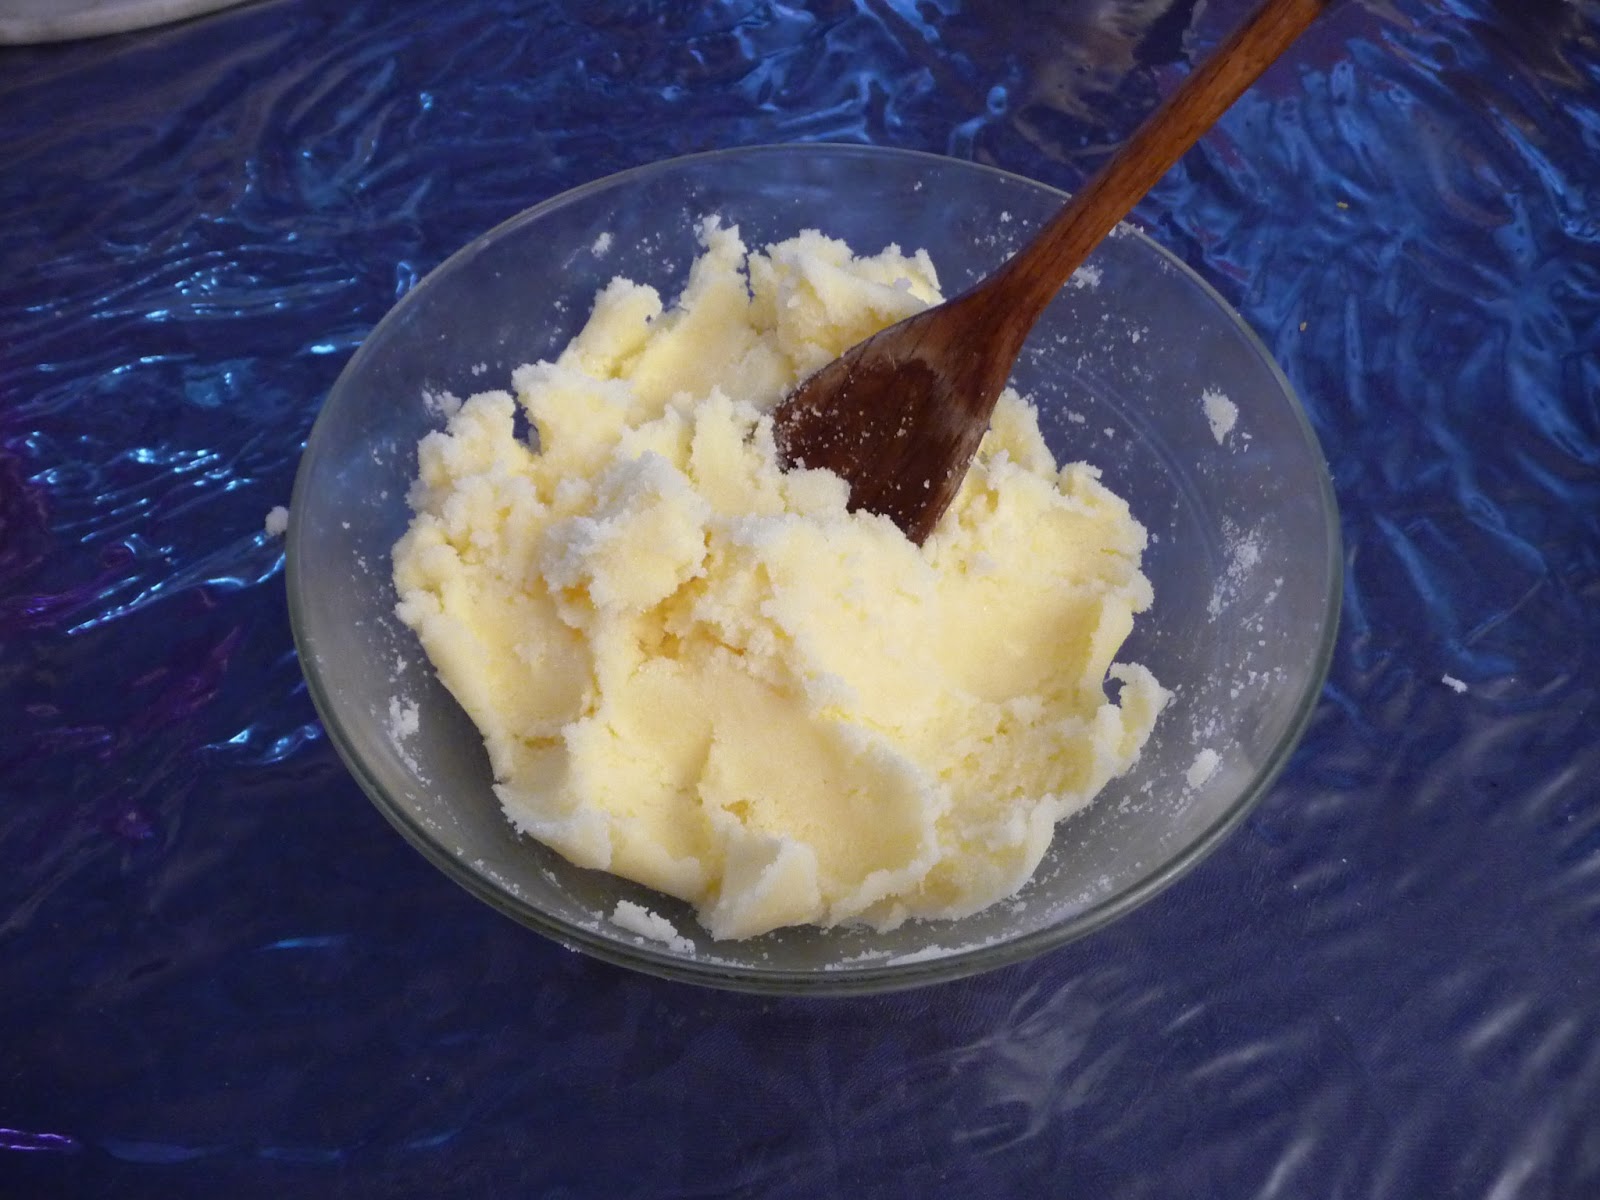
I mashed up the butter and sugar first. This was quite a workout!! I started with:


And ended up with:


Next, had to add the eggs. I actually scaled the recipe down since I only had three eggs left and the recipe called for four. Oops...


After mixing in all the flour, and realizing that the bowl I had chosen was way too small, I split the dough into three equal parts. I figured that making a block for each flag would work, and that luckily for me, each flag had about the same quantity of each color: red, white, and blue. Adding food coloring works well. Unfortunately I don't have the strong icing food coloring, so my blue turned out blue/green and my red turned out pink.


This is very important. The dough MUST be chilled next. At first I put it in the fridge for an hour, and that still wasn't enough, so I put it in the freezer for half an hour to let it cool further, and then it was about the right texture to roll without sticking.


Now, it was very important to have the thickness of the stripes for the American flag to be the same thickness. Since I don't even have a real rolling pin (I use a well cleaned glass wine bottle), there's no way I have the little rubber spacers that can be attached to your rolling pin. So instead, I used two wire hangers to put on either side of the dough in order to keep the rolling pin/wine bottle from thinning the dough out any further than that.


After the first layer was finished, I put it on a plate and in the freezer while I rolled the next layers. Then I stacked them all one on top of the other and cut the edges square.


The French flag was easier, with three thickly rolled chunks (spacer = textbooks). 


Then back in the freezer to harden up some more. Now I leave it in the freezer wrapped in plastic wrap until I want to make some cookies, when I slice off one or two and pop them in the oven. They cook up nicely in seven minutes at 200 degrees C.


Thursday, March 8, 2012

Origami Electric LED Fortune Teller v1.0


I had a free morning and limited supplies, but wanted to make an eTextile project. This project takes household materials - paper, tin foil, scotch tape, a few LEDs, a resistor and a 9V battery - and creates an interactive LED circuit that changes the color and LEDs that are lit when the fortune teller (also called cutie-catcher) is moved. Creating a flat circuit on a folded structure is very interesting because there are freedoms and constraints each time there is a fold or the edge of the paper. I took advantage of this fact when designing the circuit layout. While each trace is flat, they span three dimensions by changing sides of the paper and moving to a different section where folds meet.

Connecting the power was done with two alligator clips. A 500-ohm resistor was wired in series with the fortune teller circuit to reduce the current to the LEDs to a reasonable range. The blinking that occurs when two LEDs are lit (visible in the video above) is due to the split of current between the two LEDs. To avoid this problem, a resistor should be wired individually to each LED (so in parallel with each other when all the switches are closed). I want to keep the design as flat as possible in order to maintain the paper quality of origami, so I will use drawn-on graphite resistors made with a soft graphite pencil to version 2. This should solve the blinking problem, and allow for full functionality. 


The first step was to fold a normal fortune teller. Then contacts needed to be added to each of the inside flaps, so that when the two surfaces come into contact, an electrical connection is made.The LEDs are tucked into the corners and taped into place.


One center flap unfolded:

 Unfolded from the center:

Unfolded and flipped over:


Power connections on the base:


Friday, February 24, 2012

Hexapod Rudimentary Sketch

Here is a quick mock-up of the design for the hexapod. The red indicates where muscle wire will be attached. It still needs much work and more aesthetics. In any case this is just to give you an idea.