Saturday, April 20, 2013

Flag slice-and-bake sugar cookies


Remember those slice-and-bake cookies you used to be able to get from grocery stores around holidays? I used to love having the shapes hidden within and the ease of making them. Just pull the roll of dough out of the freezer, slice, and bake. Not to mention that they cookies were darn tasty too!


I found a few examples online, and decided to make flag cookies. The French and US flag seemed the most obviously appropriate. So, first, the recipe. Any recipe for rolled sugar cookies will work. I actually forgot to add baking powder and salt to mine, and it still worked out just fine.

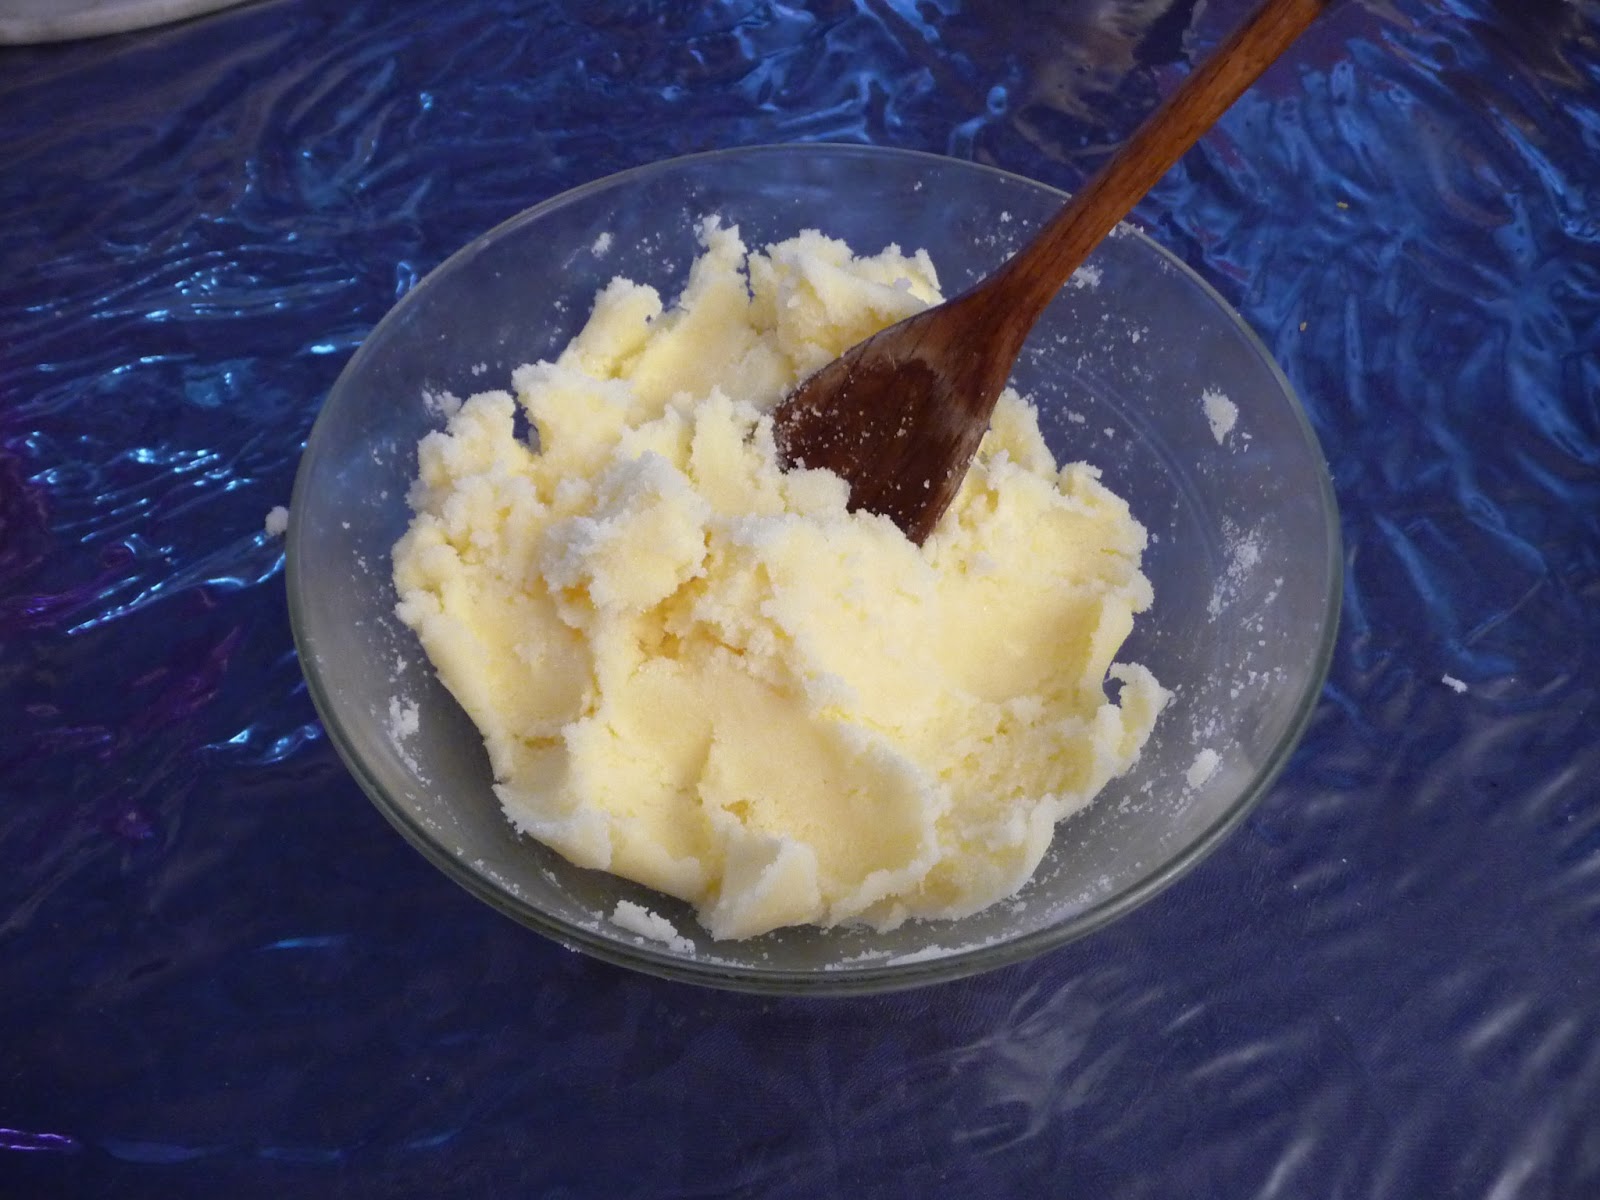
I mashed up the butter and sugar first. This was quite a workout!! I started with:


And ended up with:

Next, had to add the eggs. I actually scaled the recipe down since I only had three eggs left and the recipe called for four. Oops...


After mixing in all the flour, and realizing that the bowl I had chosen was way too small, I split the dough into three equal parts. I figured that making a block for each flag would work, and that luckily for me, each flag had about the same quantity of each color: red, white, and blue. Adding food coloring works well. Unfortunately I don't have the strong icing food coloring, so my blue turned out blue/green and my red turned out pink.


This is very important. The dough MUST be chilled next. At first I put it in the fridge for an hour, and that still wasn't enough, so I put it in the freezer for half an hour to let it cool further, and then it was about the right texture to roll without sticking.


Now, it was very important to have the thickness of the stripes for the American flag to be the same thickness. Since I don't even have a real rolling pin (I use a well cleaned glass wine bottle), there's no way I have the little rubber spacers that can be attached to your rolling pin. So instead, I used two wire hangers to put on either side of the dough in order to keep the rolling pin/wine bottle from thinning the dough out any further than that.


After the first layer was finished, I put it on a plate and in the freezer while I rolled the next layers. Then I stacked them all one on top of the other and cut the edges square.


The French flag was easier, with three thickly rolled chunks (spacer = textbooks). 


Then back in the freezer to harden up some more. Now I leave it in the freezer wrapped in plastic wrap until I want to make some cookies, when I slice off one or two and pop them in the oven. They cook up nicely in seven minutes at 200 degrees C.


Thursday, March 8, 2012

Origami Electric LED Fortune Teller v1.0


I had a free morning and limited supplies, but wanted to make an eTextile project. This project takes household materials - paper, tin foil, scotch tape, a few LEDs, a resistor and a 9V battery - and creates an interactive LED circuit that changes the color and LEDs that are lit when the fortune teller (also called cutie-catcher) is moved. Creating a flat circuit on a folded structure is very interesting because there are freedoms and constraints each time there is a fold or the edge of the paper. I took advantage of this fact when designing the circuit layout. While each trace is flat, they span three dimensions by changing sides of the paper and moving to a different section where folds meet.

Connecting the power was done with two alligator clips. A 500-ohm resistor was wired in series with the fortune teller circuit to reduce the current to the LEDs to a reasonable range. The blinking that occurs when two LEDs are lit (visible in the video above) is due to the split of current between the two LEDs. To avoid this problem, a resistor should be wired individually to each LED (so in parallel with each other when all the switches are closed). I want to keep the design as flat as possible in order to maintain the paper quality of origami, so I will use drawn-on graphite resistors made with a soft graphite pencil to version 2. This should solve the blinking problem, and allow for full functionality. 


The first step was to fold a normal fortune teller. Then contacts needed to be added to each of the inside flaps, so that when the two surfaces come into contact, an electrical connection is made.The LEDs are tucked into the corners and taped into place.


One center flap unfolded:

 Unfolded from the center:

Unfolded and flipped over:


Power connections on the base:


Friday, February 24, 2012

Hexapod Rudimentary Sketch

Here is a quick mock-up of the design for the hexapod. The red indicates where muscle wire will be attached. It still needs much work and more aesthetics. In any case this is just to give you an idea.

Thursday, February 23, 2012

Revival - New Project Ideas

Hello again. I am back from a year in France and have decided to revive my project blog. I have my mind set on two new projects. One is a small robotic hexapod that uses muscle wire, and the other is a large scale art project that will turn the area outside Georgia Tech's student center into a large koi pond.

How am I going to do these? Here are some details on each:

Hexapod

The hexapod I will be creating will be small and relatively silent. The idea of using muscle wire comes from wanting a low-cost solution. Additional advantages are that it will be completely silent, as opposed to the far more common servo models. My Perspective and Robotics class, taught by Dr. Mike Stilman was what first sparked my real desire to build a hexapod for myself. This project would allow me to explore and model various motions and gaits. The hexapod structure is already well known for being a simple platform to start with as it is intrinsically stable. As I began to research hexapod designs, however, I discovered that any prefabricated designs were going to cost me upwards of $500 at the cheapest. I resolved, therefore, to build my own.

My hexapod prototype will be controlled with an Arduino Mini 5V microcontroller. The muscle wires themselves will be powered through a 9V battery (the Arduino cannot provide enough current itself). For the body of the hexapod, I am planning to use laser-cut polycarbonate. Each leg will have two degrees of freedom. This will be enough to allow forward, reverse, and turning motions. Using two instead of three degrees of freedom on each leg does remove the ability to walk sideways. Right now I am attempting to develop a body and leg design that could allow sideways motion through sliding and shifting of the center of mass of the robot.

Koi Pond

I have long been interested in large artwork, as shown by my footprint stencil project. I did attempt initial work towards a large koi pond, but found that the clear plastic I was using was impossible to see and too flimsy to really work with. In my new attempt, I am going even bigger than before and have ordered a 10' wide and 25' long sheet of black .006" thick Polyethylene film from McMaster-Carr. I plan to place three large fish done in spray chalk around the student center by the end of this semester. For this project I will need to document the square footage to spray chalk ratio for the recipe I choose to use.


As I work on designs towards these two projects, I will post the progress here. As soon as parts arrive, I should be able to get going!

Saturday, December 25, 2010

Homemade Snow Globe

What says the holidays more than a nice old fashioned snow globe? Even better would be one with a special place in it. So I thought, why not make a snow globe with a model of my house in it?

Supplies:

  • Snow Globe Kit (glass dome, wood base, and snow flecks; I used a "Large" size)
  • Distilled Water
  • Glue (I used epoxy, caulk/tub sealant does NOT work - it makes the water cloudy)
  • Colored Polymer Clay (Premo or other brand from Michael's, etc.)
  • Beads?
  • Other waterproof details

I got the snow globe kit from snowdomes.com. All the measurements are on their website, but the wooden base I received did not look like the one in their pictures. I took some pictures of my house for reference as I sculpted with the clay. I have read online to be weary of using paint, as sometimes it will degrade and make the water cloudy.

First step:
Make the basic shapes of the house. Then add a consistent layer of snow over the roof. Finally, I've found that adding some simple texture does wonders for the overall appearance. I used a small flat head screwdriver to add horizontal lines to the sides of the building where they is paneling.


Second Step:
Add the details. Windows were little black squares on top of slightly larger white squares. I used the flat of a knife to press the clay into very thin layers. Again, textures really help. I put a white layer on the base for the snowy ground.

Third Step:
Baking! The directions for clays will vary, but mine took about two hours to cook since the house was about an inch thick. The picture below with the pencil shows the scale.


 Fourth Step:
Check to be sure that the stiff model still fits inside the glass dome easily. Then use epoxy generously to affix the model to the rubber stopper. I let it dry for several hours. Then invert the dome and fill it with snow and distilled water. I only used about half of the snow, because all of it seemed very overwhelming. Next squeeze the stopper in very gently. Once the overflowed water is dry, use more epoxy to seal the dome completely. When dry, invert and glue into the base. All done!

QR Code Double Knit Potholder


     Have you ever been ready to cook, but not known what to make? Presenting the QR potholder! Just point your phone at it and it will direct you to a website full of recipes. Then when you need to take the food out of the oven, the potholder is right on hand.

     This potholder features double thick knitting, with an inverted image on the reverse side. I already checked, the reverse side does not scan. Oh well.


     Because this knit was a little more rectangular than I cared for, I used some creative felting and washing techniques to try to stretch and shrink it to a square. I put the potholder in a pillowcase and then in the wash. Once soaked and spun a bit, I took it out an pinned it against some foam in the shape I wanted.


     After it dried, it kept the square shape pretty well. It is nice and thick and works well as a potholder and the QR code gives a nice easy way to access recipes.

Aeroponics Deconstruction

     As I prepare for my trip to France, I have to get ready to move most of my stuff back into my parents' place. This includes taking apart my aeroponics setup for transport. This is the first time I've taken apart the system since I set it up. I ran across several surprises.

     First off, I think some of the plants did develop a little root rot. Particularly the onion plants which had no root really to speak of. Second, the roots of many of the plants extended too far! They grew all the way down into the water reservoir, removing any control I had over their nutrition or water uptake. Maybe it would be a good idea to have a separate tank for the water/nutrient solution.

     Another surprise was how dirty the water had gotten. None of the sprayers were clogged and there was no trouble with the pump, so the pump filter must have sufficed.

 
      Since it was dirty, everything needed to be cleaned. I started out by cleaning out the net pots. Those were easy enough. I dumped out all the clay pellets into a bucket (strands of roots and all) and used a scrub brush in the sink to wash off the pots.


     Next, I had to clean out the clay pellets to use again. The problem was how to get the little root hairs off the pellets, without having to do it all by hand which would have taken ages. I tried boiling all the pellets in a big pan. I got the heat up to boiling and then stirred the pellets often. I hoped that the roots would boil down into a pulp like spinach does in order to clean off the pellets. Unfortunately it didn't work! I just had a lot of warm, root-covered clay pellets. Hmm... I think a strong garden hose and some 1/4" wire mesh would do wonders.


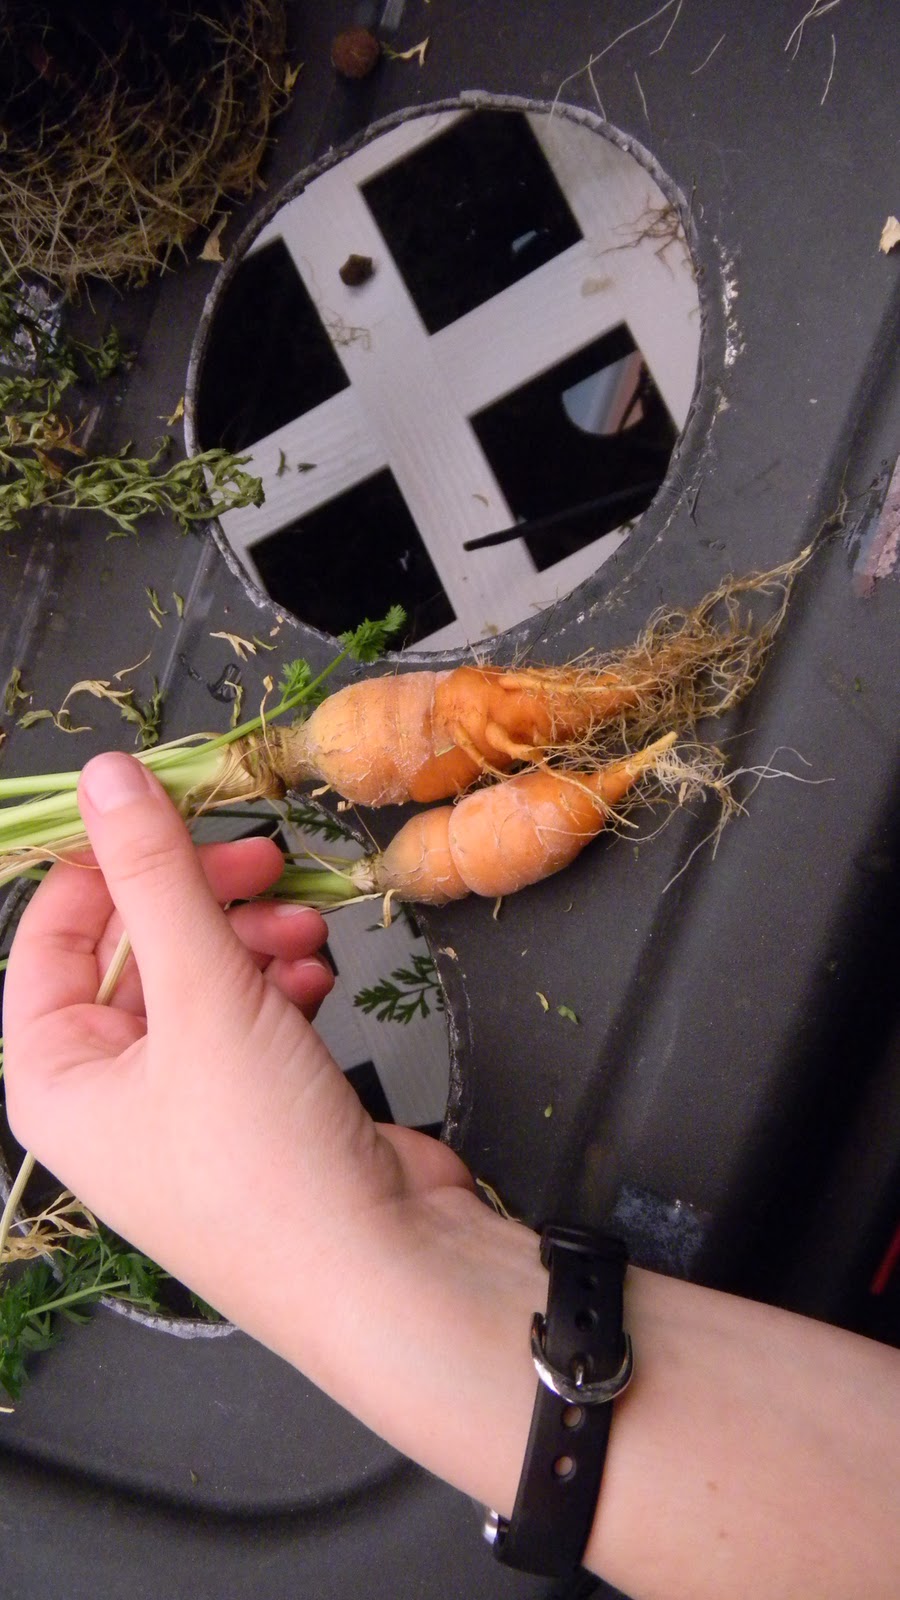
     One pleasant discovery was two carrots. They grew pretty well for not being in soil. I washed them off just to get off any excess nutrients, but besides that, no dirt to scrub!


Sunday, October 31, 2010

Finished Star Wars Battle Droid Stencil

Star Wars Battle Droid Stencil Art

I used some ziplock bags with dry rice in them to use as weights. Alternatively you could use sand or dirt to fill the bags. Even though there wasn't much wind, just the occasional breeze was enough to disturb the stencil.


The white layer turned out pretty well. It did take a lot longer to dry than I had anticipated, probably because it was done in the shade and not in the sun. I just left it alone for about an hour until I came back to do the next layer.


Alignment of the second layer took a lot of time to get just right. Especially the smaller pieces which required a substantial use of double-sided tape to get to stay in the right places. In the end though I was very satisfied with the results.


Things to change for the future when using shower curtain stencils:

Make sure to store them in a rolled position even though they were initially folded when bought. The creases make thin sections impossible to lay flat. Also pick designs that have more connected spaces. Sections of curtain that extend like peninsulas don't stay in place very well at all.

Still overall it's a phenomenal success!

Saturday, October 30, 2010

Making A Star Wars Droid Stencil


I designed this droid stencil to have two layers, a bottom white layer and a top black layer. The composite should look something like the image above. I made this stencil out of a shower curtain that I had planned to use with the aeroponics system, but it had gotten replaced by roll down windows blinds instead.

After using some software to poster print the design, I taped together the pages and laid them on top of the flat shower curtain. Using a sharp exacto knife, I cut through the paper and the curtain along the outline.


 Once all the scrap paper and curtain was removed, I was left with a stencil like the picture below. Note that in each leg there is a branch that connects to the white section between the legs. The two branches will not show up in the final design because they are in sections that will be completely covered with black.


The black layer contained all the details and was more complicated. The pictures of the black layer are below.


Tomorrow I'm going to try stenciling it outside with some homemade spray chalk.

Monday, October 25, 2010

Sugar Snap Pea Pods


So far I have discovered four pea pods. There are still several blossoms left and even more budding. I'm so excited to have some home grown sugar snap peas for the first time in years!